
Connect SalonBridge to a supported Yoco card reader and start the payment from the client account. Sending the amount directly to the device reduces the amount of manual entry your reception team needs to do at checkout.
Send payments straight to your Yoco card reader
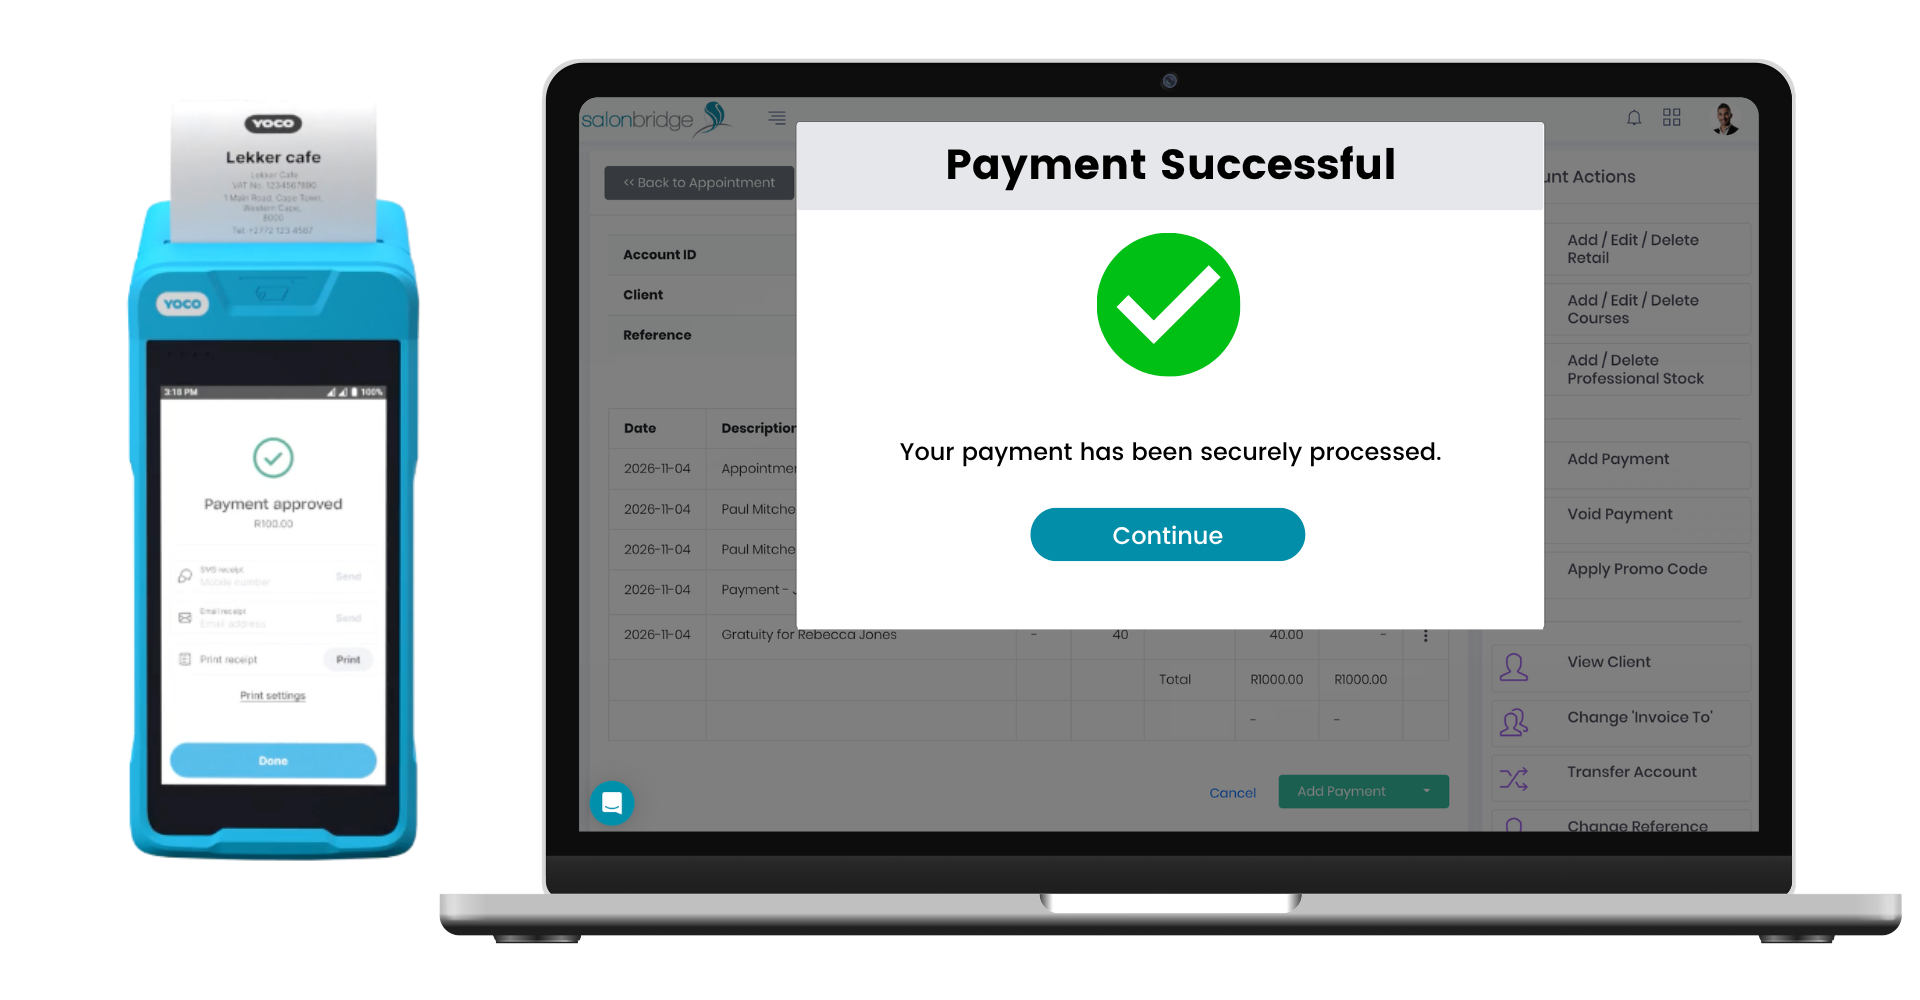
Start the payment from the client account
When you are ready to take payment, choose Yoco Web POS as the payment method in SalonBridge. Select the card reader you want to use and send the payment to that device.
Your client completes the payment on the Yoco reader. Once Yoco confirms that it has been approved, SalonBridge captures the payment automatically on the account and includes it in your reports.
Choose the right device at reception
Add your supported readers to SalonBridge and give each one a clear name, such as Reception or Upstairs. These names appear when your team chooses where to send a payment.
That makes the selection easier to follow when you have more than one reader. Your staff can choose the appropriate device from the payment screen, without manually entering the same amount on the card machine.
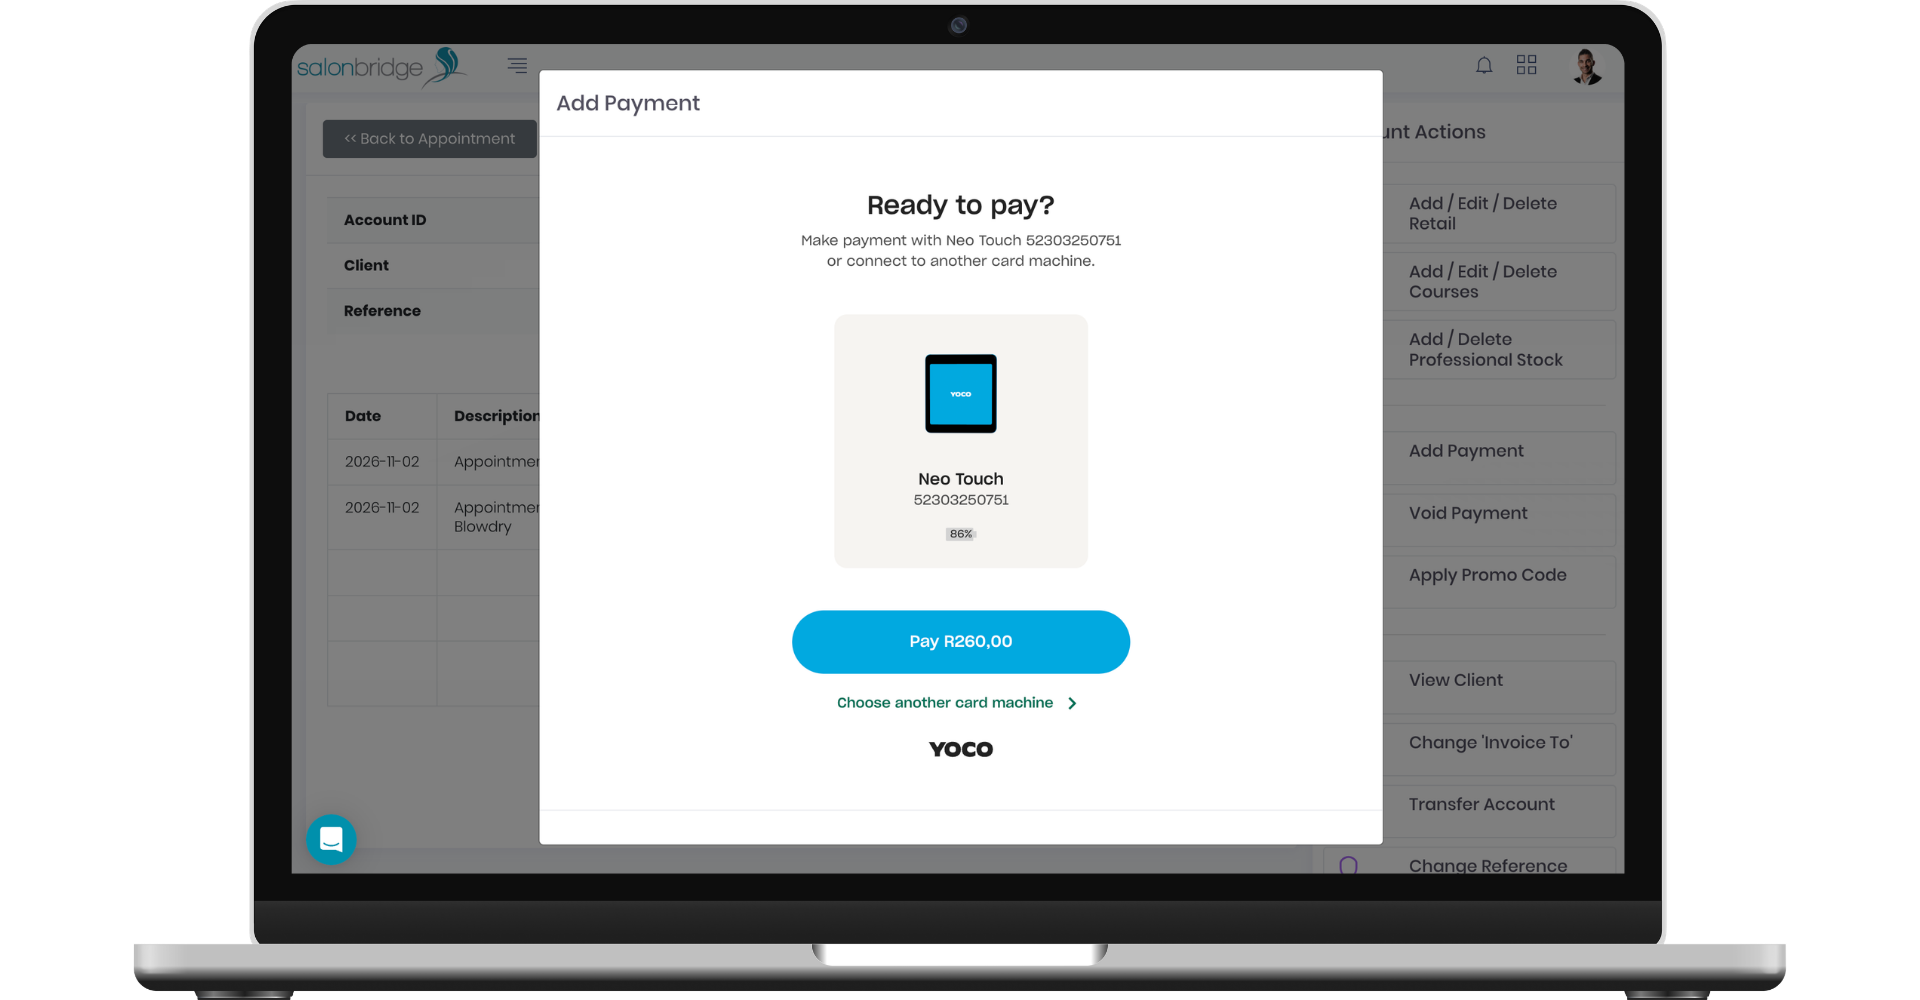
Work from your browser
Yoco Web POS works through the SalonBridge web console on a computer, laptop, tablet or phone using a modern browser.
To connect it, enable Yoco Web POS under My Business → Integrations, authenticate your Yoco account and add your supported devices. Check your account and device access with Yoco before setting up the connection.
Questions about Yoco Web POS
The documented supported models are Neo Touch and Khumo Print. Yoco currently provides Khumo Print integration access by request, so contact Yoco to confirm access for that device before connecting it.
Refunds must be processed in the Yoco web or mobile app. You should also void the corresponding transaction in SalonBridge so that your payment reports remain accurate.